Setting up DNS records for Google Cloud Storage is a two-step process:
- to change nameservers in a domain,
- edit entries on nameservers.
1. Changing name servers in a domain
First, go to the order properties in the "Domains" section of your personal account.
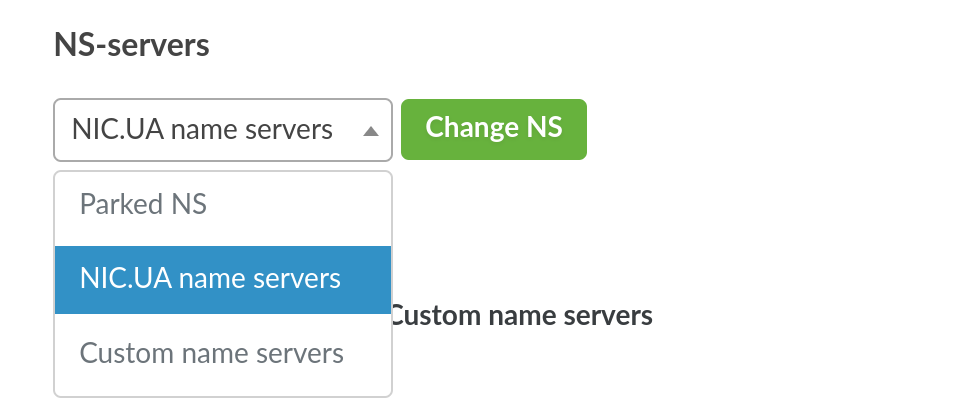
Then select "NIC.UA Name Servers", click the "Change NS" button and wait for the page to load.
2. Setting up DNS records for a domain
The first step you need to take is to verify ownership of the domain name. By default, this uses a TXT record on nameservers.
To do this, go to the "Name Servers (NS)" section and click on the gear next to the order.
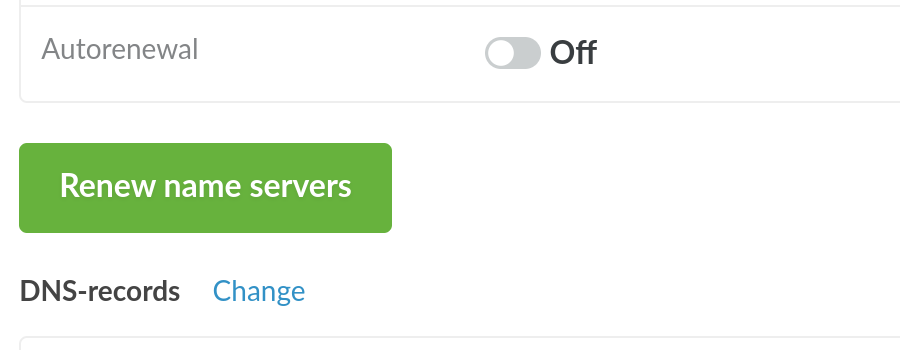
Below on the page, click the "Change" button next to the "DNS records" heading.
Then click the "Add Record" button and fill in the fields with the appropriate values.
- Name: @
- Type: TXT
- Text: (enter the value generated by the Google Sites service).
Once ownership is verified, point the domain to Cloud Storage. To do this, first remove the A-records with the names '@' and 'www' .
To assign your own domain name, create new DNS records with the following settings:
- Name: www
- Type: CNAME
- Alias host: c.storage.googleapis.com.
- Name: @
- Type: PernamentRedirect
- URL: http://www.example.com
Please note that CNAME records only support HTTP requests. If you want to use the primary domain and secure HTTPS protocol, you should use an A-record.
To do this, first install an SSL certificate according to the instructions on this link. Then follow these steps:
- Go to the "Name Servers" page.
- Click on the gear next to the name servers for your domain.
- Click "Change" next to DNS records.
- Instead of 195.149.114.21 for the main domain (name '@') and subdomain www.example.com, enter the received IP address.
- Save changes.
Please note that changes to DNS records take 4-24 hours to take effect until the ISP's DNS cache is updated.


Oleksii Momot
Comments